Easy Guide for HP Printer Setup
Get your HP printer setup done easily! Follow simple steps to install drivers, connect wirelessly, and start printing smoothly. Enjoy a hassle-free HP printer setup in just a few minutes!
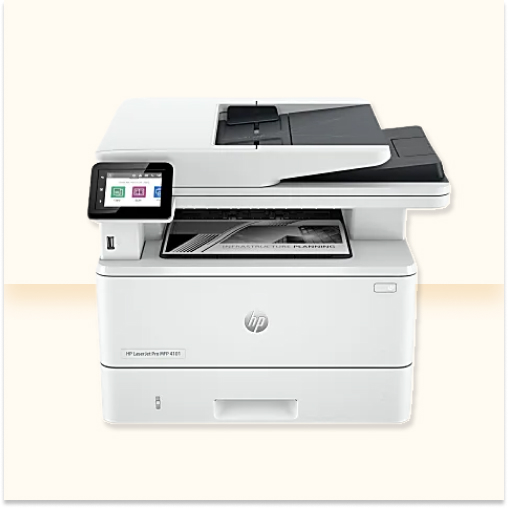
Printer Setup Instructions
Get your HP printer setup done easily! Follow simple steps to install drivers, connect wirelessly, and start printing smoothly. Enjoy a hassle-free HP printer setup in just a few minutes!
Printer Setup Instructions

Unbox your HP printer carefully, remove packaging, and check all accessories before setting it up.
Place the printer on a flat surface near a power source and your computer or Wi-Fi router.
Plug in your HP printer, press the power button, and wait for it to turn on.
To complete your HP printer setup, install ink cartridges properly for smooth printing."
To complete your HP printer setup, load paper properly to ensure smooth and efficient printing.
Turn on your printer, connect via USB or Wi-Fi, and follow the setup instructions.
Easily install printer drivers for a smooth HP printer setup and start printing hassle-free!
After completing the HP printer setup, print a test page to ensure proper functionality.
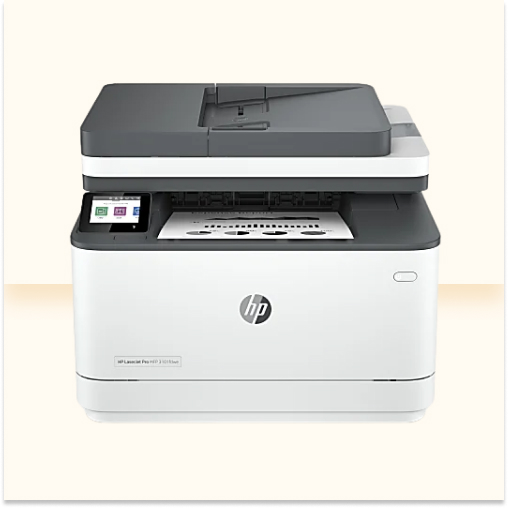


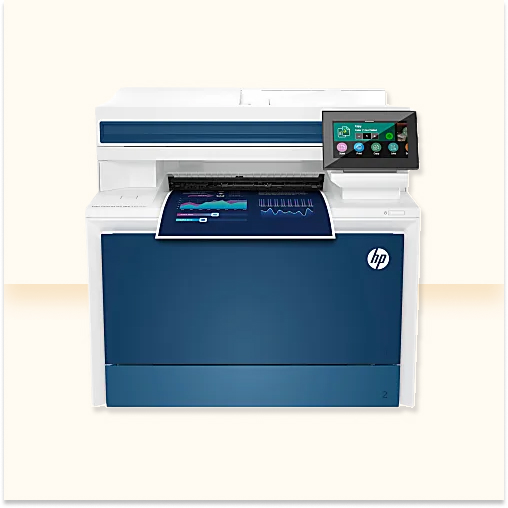

To complete your HP printer setup, unbox the printer, connect it to power, install ink, load paper, download drivers, and connect it to Wi-Fi or USB for smooth printing.
Your HP printer setup may fail due to weak Wi-Fi, incorrect settings, or outdated drivers. Restart your printer, check network settings, and update drivers to fix connection issues.
You can find the correct drivers for HP printer setup on the official HP website. Simply visit printersupporthub.store, enter your printer model, and download the latest drivers for your device.
To add your printer, complete the HP printer setup by connecting via USB or Wi-Fi. Then, install drivers from HP’s website and add the printer in your Windows or Mac settings.
If your printer isn’t working after HP printer setup, check ink levels, reconnect the printer, update drivers, and restart both the printer and computer to fix common printing issues.
To reset your printer to factory settings, go to HP printer setup, navigate to "Restore Defaults" in settings, and confirm. This resets all settings to default for a fresh start.